
Your First Workspace
Get up and running with Claudette in a few simple steps.
1. Add a Repository
Section titled “1. Add a Repository”Launch Claudette and click + Add Repo in the sidebar. Select a local git repository on your machine.
2. Create a Workspace
Section titled “2. Create a Workspace”Click the + button next to your repository name in the sidebar to create a new workspace. Claudette will:
- Create a new git worktree (an isolated copy of your repo on its own branch)
- Start a fresh Claude Code agent session in that worktree
- Run your setup script if one is configured (e.g.,
bun install,pip install -r requirements.txt)
3. Send Your First Prompt
Section titled “3. Send Your First Prompt”Type a message in the chat panel and press Enter to send it to the agent. Claude Code will start working in the workspace’s isolated worktree.
Try something like:
“Add a health check endpoint at GET /health that returns a JSON response with status and timestamp.”
The agent will create or modify files, and you’ll see its progress streamed in real-time.
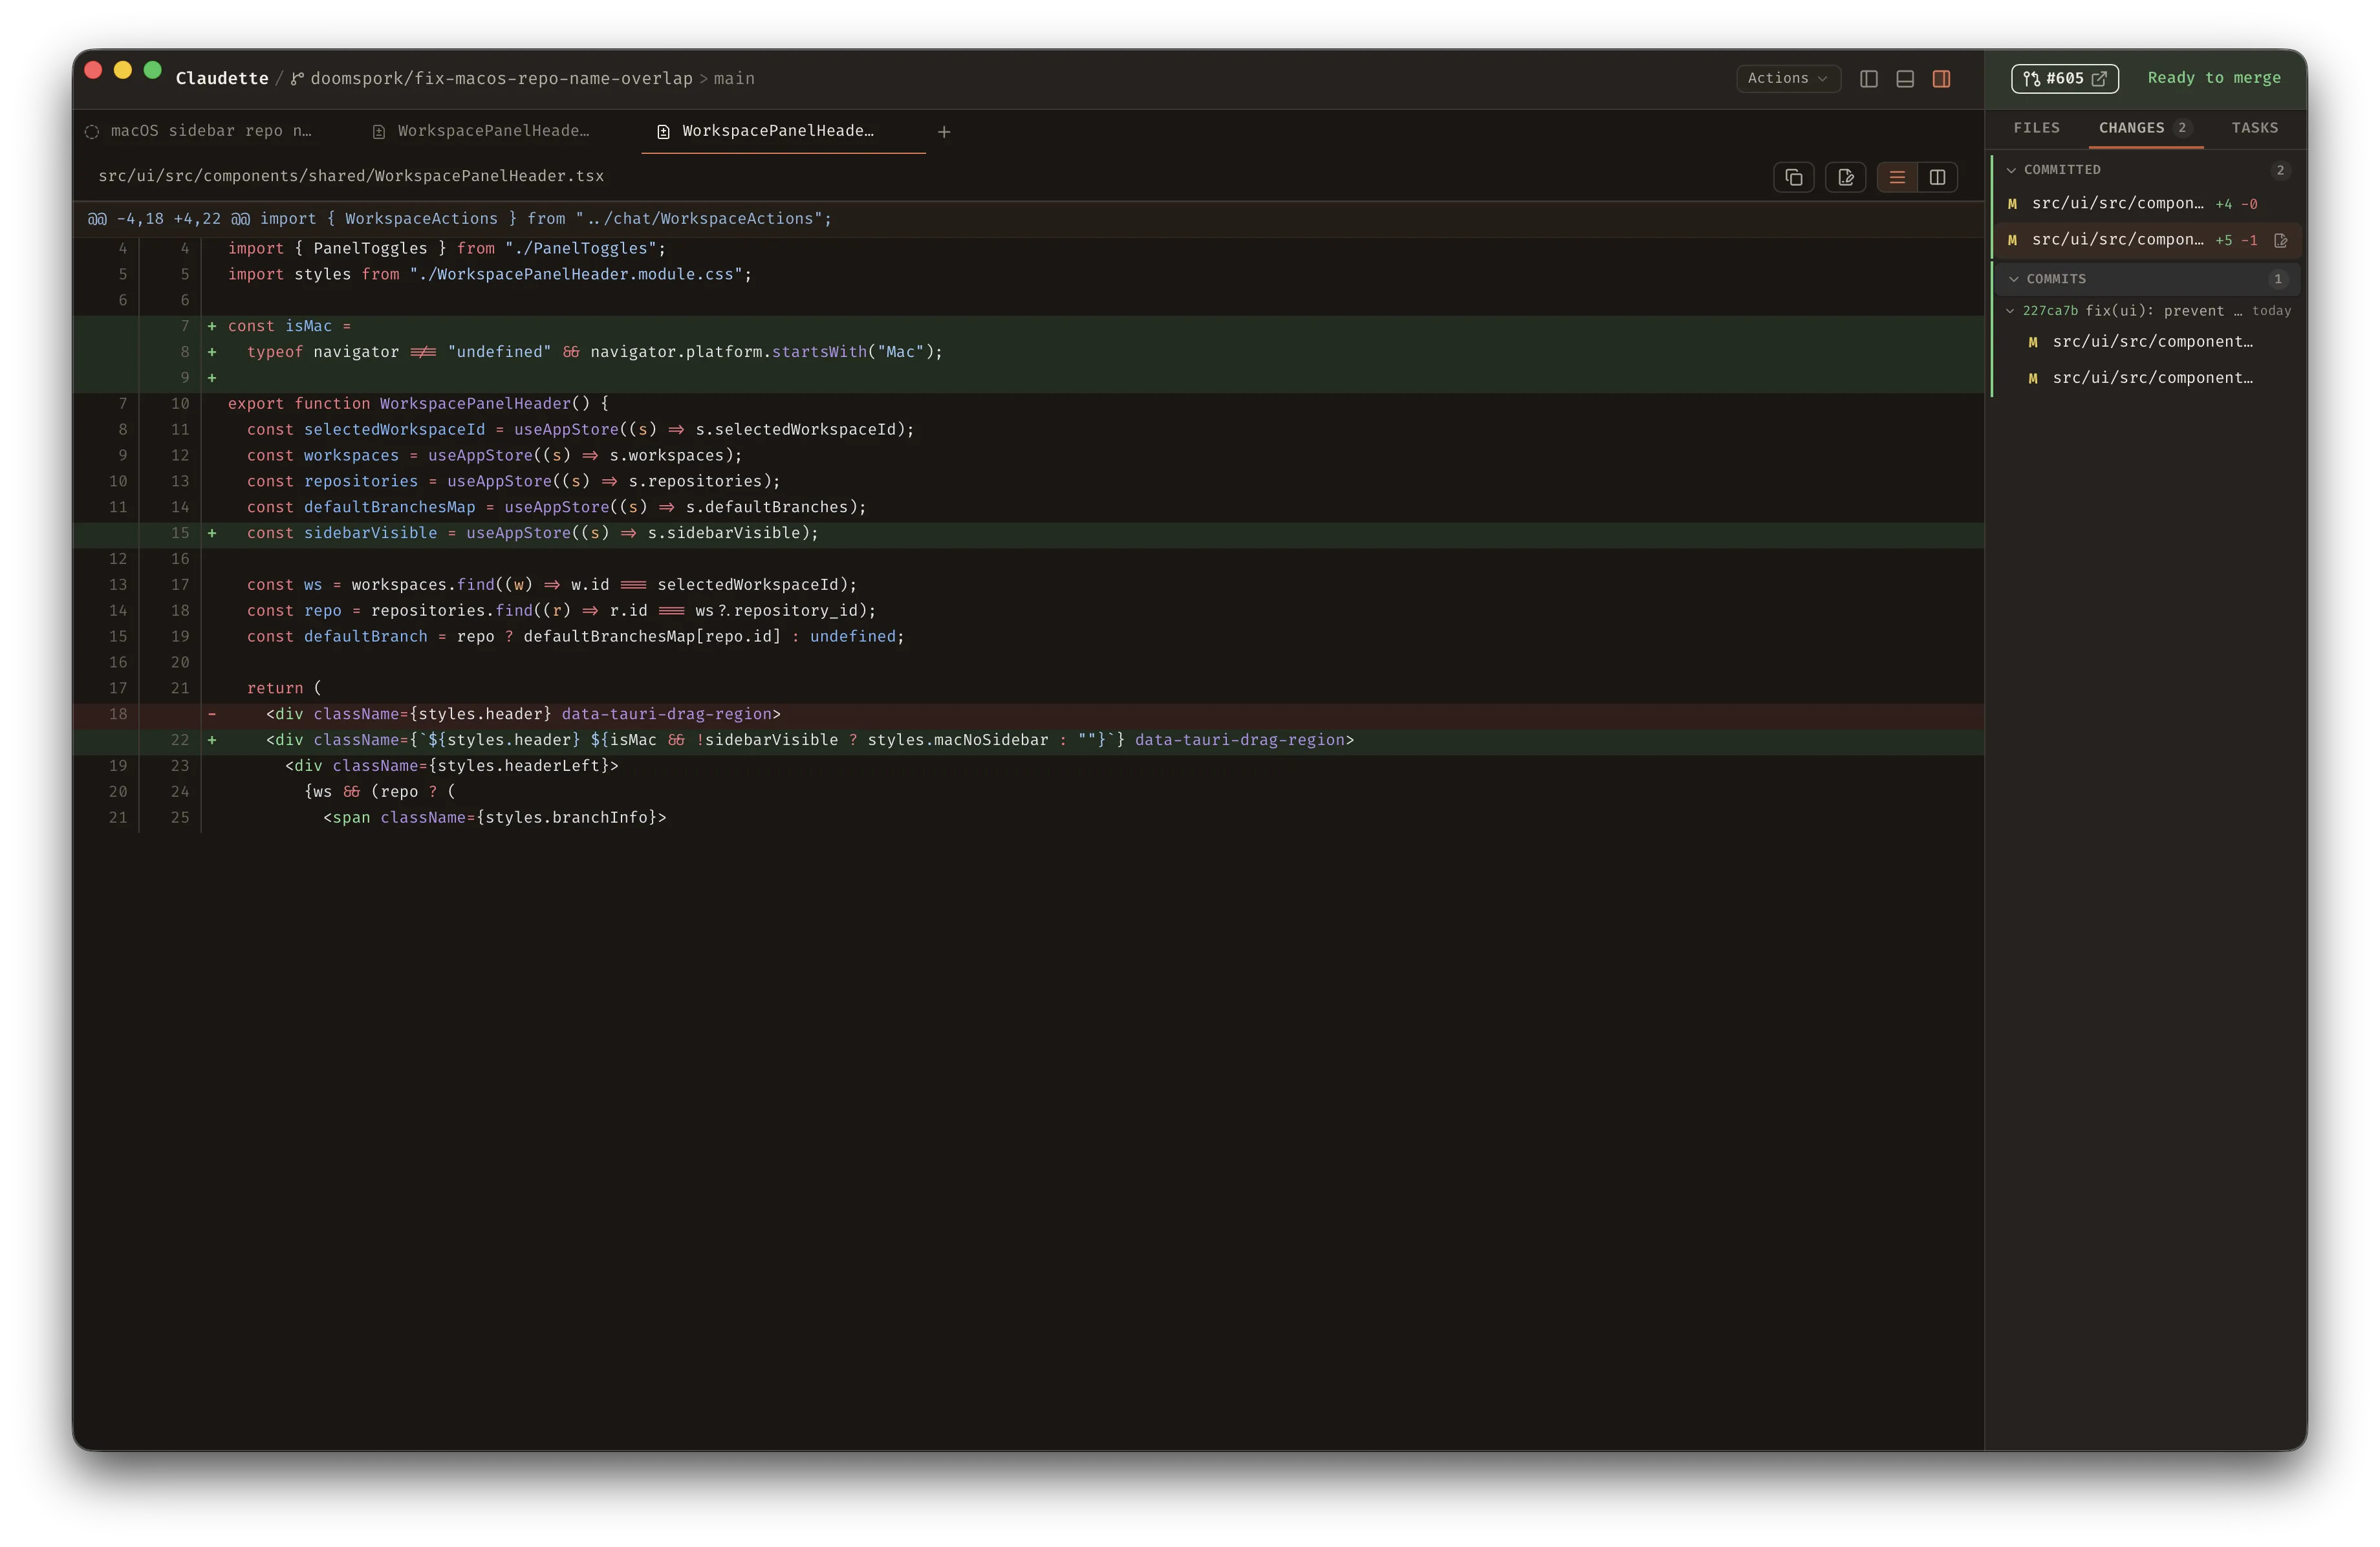
4. Review Changes
Section titled “4. Review Changes”Once the agent finishes, click on a workspace to view the diff panel showing all files that were changed. You can:
- Review each file’s changes in unified diff format
- See the list of changed files in the right sidebar
- Open the integrated terminal to test the changes
5. Iterate or Merge
Section titled “5. Iterate or Merge”From here you can:
- Send more prompts to refine the changes
- Open a terminal (
⌘/Ctrl + ``“) to test manually - Merge the worktree branch into your main branch when ready
Next Steps
Section titled “Next Steps”- Learn about the full workflow for using Claudette day-to-day
- Set up per-repo settings like custom instructions and setup scripts
- Explore parallel agents to work on multiple tasks at once